This guide is intended to help you create your first Virtual Event.
You are able to make changes to your Virtual Events after creating them.
What you need
You should already have a channel set up. If not, see Set Up a Channel.
You need a thumbnail image for the Virtual Event, which is a 16:9 256x144px image. It does not need to be this exact size because you can resize and crop it during the upload process.
You may want to upload the videos that will be part of the Virtual Event ahead of time. If so, see Add a Video. However, you can create the Virtual Event first, then edit it later to add in the videos once they are available.
Step 1: Start a new Virtual Event
Click on Dashboard, then Virtual Events.
Click the “New Virtual Event” button.
Step 2: Choose the Virtual Event name and type
If you need to create free Virtual Events, you will need to contact us to enable it on your account.
Choose a name for your Virtual Event. This is what someone who is considering registering will see.
Step 3: Configure the duration and sale date
You will choose when people can start viewing the Virtual Event, and when it will end.
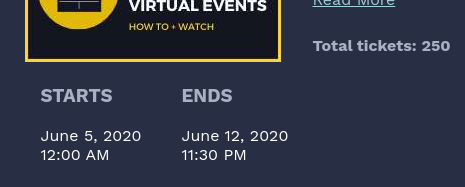
The end time is a hard cutoff. If someone is still watching a video, they will be forced to stop immediately and will not be able to continue.
Deciding the duration of the event will depend on many things, but we recommend giving people enough time to view it at a time convenient for them. We have a Virtual Event Best Practices Guide with recommendations you can read. In most cases, we recommend having the event go for at least 24 hours, which allows people anywhere in the world to attend at a time convenient for them.
You can choose when tickets will go on sale for the event. Usually channels will choose to allow the tickets to go on sale immediately.
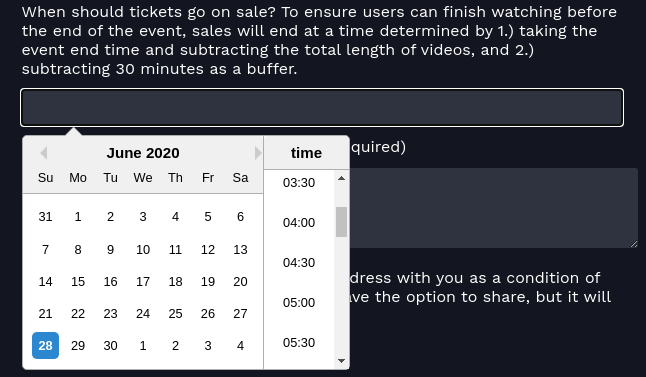
To prevent people from purchasing a ticket but not being able to finish a Virtual Event, tickets will stop being sold automatically before it ends. The time they stop being sold is determined by:
- Adding the total length of the videos in the Virtual Event, plus
- 30 minutes as a buffer.
Step 4: Add a description
Users will see the full description when they click on the Virtual Event’s title or thumbnail. They will also see a short preview on the Virtual Event’s listing on the channel page.
The description should give the user a good idea of what they should expect, and may include a listing of what videos they will be seeing. If you need to give them additional information, this is also a good place to do it.
Step 5: Decide whether to enforce email sharing
If you choose to require that users share their email address with you when they register, then they will need to check a confirmation box before they are able to register for the Virtual Event.
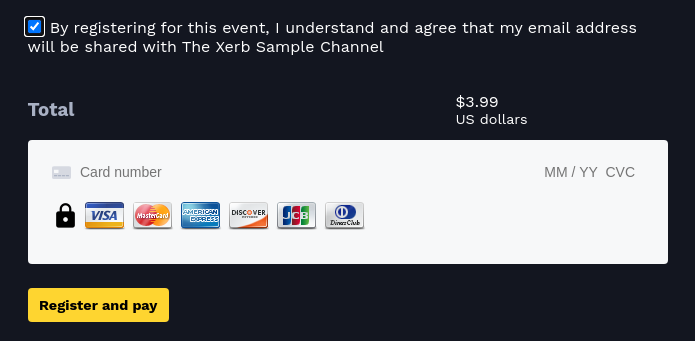
If you do not require email sharing, they will have the option to share it, but it will not be required.
Step 6: Determine pricing and capacity
You can choose any price you want, but the minimum price for a Virtual Event is $1.99 USD, or its equivalent in another currency.
You can choose to accept payments in over 130 different currencies. If the currency you want is not listed, please contact us.

You can choose to limit the number of tickets available. In our Virtual Events Best Practices Guide, we recommend doing this, even if you don’t need to impose a limit, for several reasons detailed in the guide.
Step 7: Revenue sharing
It is possible to automatically split the revenue, after payment processing and Xerb’s commission, between yourself and the owners of the videos you are using in the Virtual Event. If you choose to do this, we will handle all of the accounting and payments.
If you want to handle any licensing and payments (if any) outside of Xerb, or if all the videos are yours, simply put “100” as your share.
Otherwise, select the percentage you will keep for yourself, and contact us to tell us how the revenue should be split among the videos.

Step 8: Create the playlist
The order that you add the videos to the Virtual Event determines the order your users will see them in. For instance, you may want to include an introduction as the first video, one or more main videos, and a thank you as the last video. For ideas, refer to the Virtual Event Best Practices Guide.
Use the dropdown menu to select the first video that will play in the Virtual Event. The dropdown will show any videos you’ve uploaded. If you haven’t added videos yet, you can create the event without any, and edit it later to add them in.
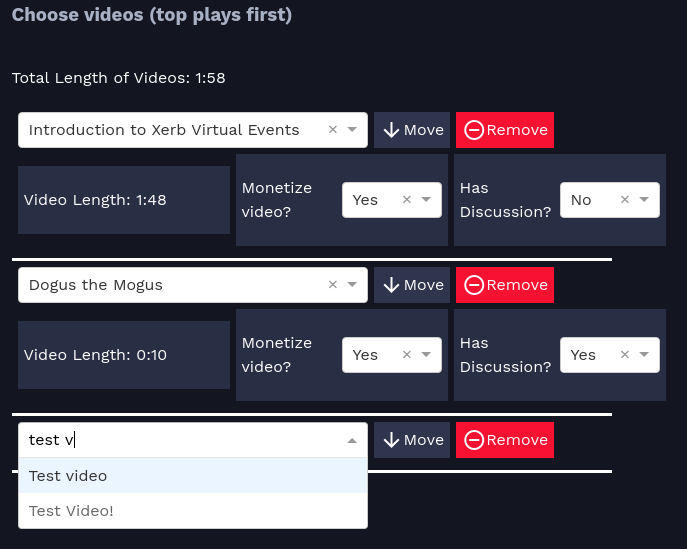
You will be asked whether the video should be monetized (unless it’s a free event). If you have chosen to split the revenue with the creators of the videos, this is how we determine which videos should earn a portion of the revenue. If you have chosen to keep 100% of the revenue, then you’ll still need to make sure at least one video is monetized, but it won’t affect anything.
You will also be asked which of the videos should have a Discussion. Discussions are text-based conversations around the videos in the Virtual Event. Discussions are optional but highly recommended, and have proven to be highly engaging and tend to produce very high quality conversation, especially if creators or people involved with the video content participate.
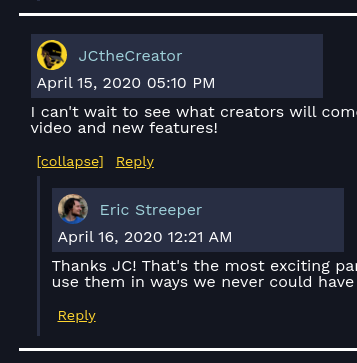
If a video does not have a Discussion attached to it, then once playback ends, it will automatically advance to the next video, and will autoplay it once the player determines there is enough data for it to play without buffering.
If a video does have a Discussion attached, then once playback ends, it will automatically open the Discussions tab. To advance to the next video, the user clicks the Next button.
Once you’re ready, click the Create button at the bottom of the screen.
Step 9: Add your thumbnail image
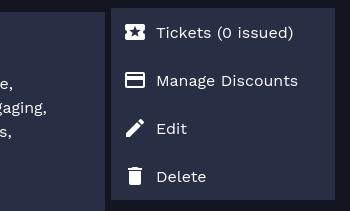
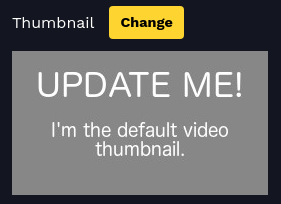
Once your event is created, you can add a thumbnail to it by clicking the “Edit” button next to the new event.
Click the Change button next to the default thumbnail and add in your own.
Step 10 (optional): Send us geo-restrictions
If you need to restrict your Virtual Events to only be available to users from certain countries or regions, contact us at support@xerb.tv so that we can configure this for you.
Next Steps
See how to Add a Video.