This guide is intended to help you create your first channel. Links will open in a new tab so that you can return to this guide as you go through it.
Once you have the images you need, we estimate that it will take you 10 minutes to complete this guide.
You are able to make changes to your channel later.
What you need
A logo image for the channel. This will be cropped to a circle. The ideal size is 200x200px, but you will be able to crop it and scale it to the size you need when you upload it.
A banner image. The ideal size for this is 1400x350px, but you will be able to crop it and scale it when you upload it as well.
(Optional) a profile image for your account, which will be shown if you participate in Lounges and Discussions. The ideal size for this is 200x200px, and it may be shown as a circle or a square.
Step 1: Register a new Channel Runner account or upgrade an existing account
If you do not have a Xerb account, click here to register a new one. Once complete, proceed to Step 2.
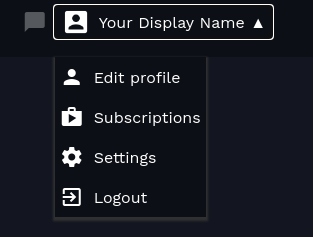
If you already have an account, make sure you are logged in, then click the dropdown menu where your name is and select “Settings”.

At the bottom of the page, click Change Account Type, and choose to change to a Channel Runner account. If you do not see this button, you already have a Channel Runner account and you can continue to Step 2.

Step 2: Create your channel
Click on Dashboard, then Create a Channel.

You will be asked for the following information:
- The name of the channel. This is what users will see.
- The URL name of the channel. This determines what your channel’s URL/address will be.
- A brief description.
- The Distribution Method(s) you want to use.
Virtual Events are made up of a playlist of video content, along with embedded Discussions, that are available during a time window that you specify. Virtual Events are individually priced. You can set up free events for a per-user fee, but you must contact us to enable free events on your account at support@xerb.tv.
Virtual Events are recommended for most channels when they start out, and require the least amount of content at the beginning.
Watch Anytime is a subscription offering, where Members pay a monthly fee in exchange for access to content that may be supplied by you, supplied by Creators you collaborate with, or both. You will decide if user’s should get a trial period, set a monthly price, and decide how the Channel Revenue (the amount of the sales less payment processing and Xerb’s revenue share) will be split between you (the Channel Runner Share) and anyone supplying content to your channel (the Creator Share). If you have content on the channel, you will also receive part of the Creator Share.
Watch Anytime is recommended for channels that plan to do work up front to put together a curated selection of content from themselves, from many different people/organizations, or both.
You may enable either option at a later time by contacting us. If you need to change the default that your channel displays when a user clicks on your listing on the homepage, you will also need to contact us.
Step 3: Add images
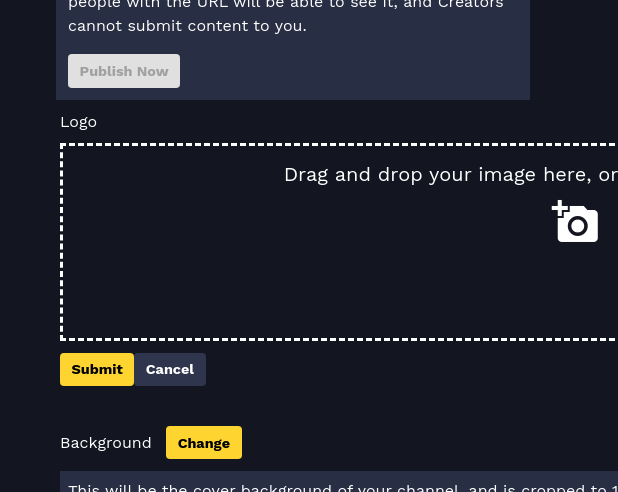
You will be able to add your Logo and Background images. Click Change next to each of the default images and add your own image.

Step 4: Publish your channel
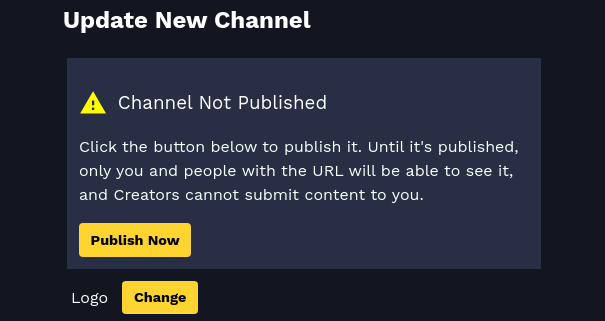
Once your images are both in place, you will be able to publish your channel. By default when it is created it is unpublished, meaning only you or people with the direct URL can see it. If you are ready to make your channel visible, click the Publish Now button.

Your channel is now visible and available to the world!
Step 5: (Optional) Set up your profile
Click the dropdown menu next to your name, then choose Edit profile.

Fill in any information you want and click Save Changes at the bottom of the screen.
Next steps
Read our other tutorials:
Virtual Event Best Practices (Coming Soon)
Watch Anytime Best Practices (Coming Soon)